The Ultimate Guide to Creating a Private YouTube Channel
Not everyone wants to be a "YouTuber." Whether you're archiving family memories or hosting internal corporate training, keeping your content secure is a priority. This comprehensive guide walks you through the exact steps to lock down your YouTube channel, manage private invitations, and ensure your videos stay seen only by the eyes you intended.
Creating a YouTube channel is often associated with the pursuit of "going viral" or building a massive public following. However, there is a growing community of users who use the platform for the exact opposite: privacy.
Whether you want to document your child’s first steps for family members across the globe, host sensitive internal training videos for your company, or simply build a personal video diary, knowing how to create a truly private YouTube channel is an essential skill in 2026.
In this comprehensive 1500-word guide, we will walk you through every step of the process—from technical setup to the nuances of sharing—ensuring your content stays seen only by the eyes you intend.
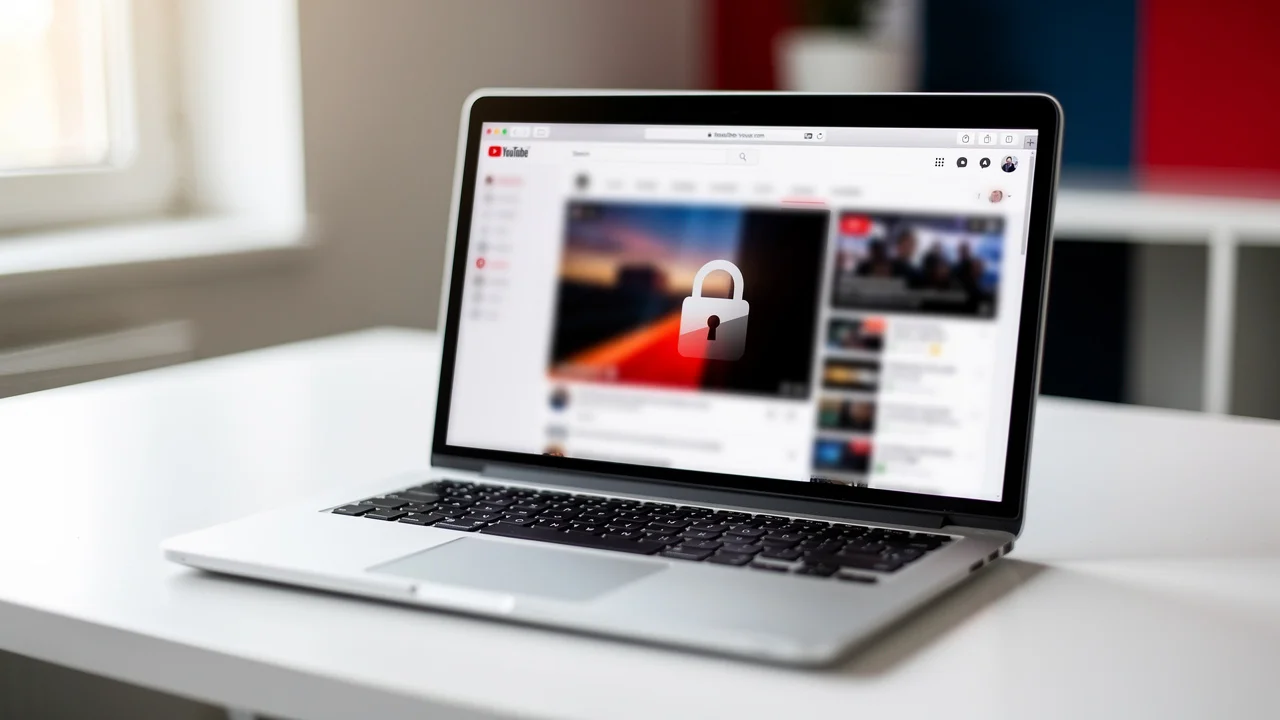
1. Understanding the Privacy Spectrum
Before we dive into the "how-to," it is vital to understand what YouTube means by "private." Many users confuse Private videos with Unlisted ones. In 2026, YouTube’s privacy architecture remains built on three distinct pillars:
Private vs. Unlisted vs. Public
| Feature | Private | Unlisted | Public |
|---|---|---|---|
| Who can see it? | Only you and people you invite via email. | Anyone with the video link. | Everyone. |
| Max Viewers | Up to 50 specific people. | Unlimited. | Unlimited. |
| Appears in Search? | No. | No. | Yes. |
| Appears on Channel? | No. | No. | Yes. |
| Google Login Required? | Yes. | No. | No. |
The Verdict: If you want a "Private Channel," you are looking for the Private setting. This is the most secure option because even if someone leaks your video link, it won’t work for anyone else unless their email address is specifically whitelisted in your settings.
2. Step 1: Setting Up Your Base Channel
YouTube doesn’t actually have a single toggle that says "Make My Entire Channel Private." Instead, you create a standard channel and then set its contents (and visibility) to private.
Creating a New Channel (Desktop)
- Sign in to YouTube: Use your primary Google account.
- Access Settings: Click your profile picture in the top-right corner and select Settings.
- Manage Channels: Click on Add or manage your channel(s).
- Create Channel: Select Create a channel.
- Brand Account vs. Personal Account: I highly recommend creating a Brand Account (give it a unique name like "The Smith Family Archives"). Brand Accounts allow you to have multiple owners or managers without sharing your personal Google password.
Creating a New Channel (Mobile)
- Open the YouTube app and tap the "You" tab (your profile icon).
- Tap the Switch Account or Settings gear.
- Choose Create a Channel if you don't already have one, or follow the prompts to add a new Brand Account.
3. Step 2: Hiding Your Channel from the Public
Once your channel is created, you might want to "hide" it so it doesn't appear in search results or suggestions, even if it has no public content.
- Go to YouTube Studio.
- On the left-hand sidebar, click Settings.
- Select Channel > Advanced Settings.
- Scroll to the bottom and click Remove YouTube Content (don't worry, this won't delete anything yet).
- A new window will open. Select I want to hide my channel.
- Check the boxes to confirm you understand that your channel name, videos, likes, and subscriptions will be made private.
Note: Hiding your channel is the closest you can get to a "Private Account" similar to Instagram or TikTok. Your videos will still exist, but your "home page" will essentially be invisible to the public.
4. Step 3: Uploading & Securing Your Videos
The core of a private channel is the videos themselves. You must ensure that every upload is correctly tagged from the moment it hits the server.
Method A: Setting Privacy During Upload
When you upload a video in 2026, YouTube takes you through a four-step process: Details, Video Elements, Checks (Copyright), and Visibility.
- Upload: Click the Create (camera icon) > Upload videos.
- Details: Fill out your title and description.
- The "Checks" Phase: Wait for the copyright check to finish. Even private videos can be flagged for copyright! If you use protected music, the video might be blocked globally, even if it's private.
- Visibility Tab: This is the most important part. Select Private.
- Share Privately: Under the Private option, click the link that says Share Privately.
- Enter Emails: Enter the Gmail addresses of the people you want to grant access to.
- Notify: Check the Notify via email box so they receive an invitation link.
Method B: Bulk-Changing Existing Videos
If you already have 100 videos and want to make them all private at once:
- Go to Content in YouTube Studio.
- Select the checkbox at the top to Select All.
- Click Edit in the black bar that appears.
- Select Visibility.
- Change the value to Private and click Update Videos.
5. Step 4: How to Invite Viewers (The "Whitelist")
Unlike unlisted videos, where you just "send a link," private videos require an invitation system.
Why the Invitation Fails
The most common support question in 2026 is: "I sent the link, but my friend can't see the video!" This happens for two reasons:
- The Login Requirement: The viewer must be logged into the specific Google account that you invited. If you invited
grandpa@gmail.combut he is logged intowork-grandpa@gmail.com, he will see a "Video Unavailable" error. - The "Share Privately" Step: You cannot just copy the URL from your browser's address bar. You must use the Share Privately feature inside the Visibility settings to whitelist their email.
6. Pro Tips for Private Channels in 2026
1. Using "Brand Accounts" for Family
If you are using a private channel for a family, consider making your spouse or adult children "Managers" of the Brand Account. This allows them to upload videos to the same private library without you needing to share your personal email password.
2. High-Resolution Processing
When you upload a private video, YouTube often processes it in Low Resolution (SD) first. If you are sharing a 4K family memory, keep the video private for at least 2–4 hours before notifying your family. This ensures that when they finally click the link, they see it in full quality.
3. Copyright is Still Active
A common myth is that copyright doesn't matter for private videos. This is false. YouTube’s Content ID system scans private videos. If you upload a video with a Taylor Swift song, the record label might block it. To avoid this, use the YouTube Audio Library for background music, even for private projects.
4. Two-Factor Authentication (2FA)
Since your private channel may contain sensitive personal data, ensure your Google account has Passkeys or 2FA enabled. In 2026, YouTube Studio requires 2FA for many administrative actions anyway, but it is doubly important when your "Private" videos are at stake.
7. Common Scenarios & Use Cases
The "Internal Training" Channel
For small businesses, a private YouTube channel is a free alternative to expensive hosting platforms like Vimeo or Wistia. You can create playlists for "Onboarding," "Safety Procedures," and "Software Tutorials," then invite your employees' work emails.
The "Video Resume" or Portfolio
If you are a filmmaker or a creative professional, you might have projects that aren't ready for the public but need to be shown to a specific recruiter. You can set the video to Private, invite the recruiter, and then revoke their access once the job interview is over.
The "Digital Time Capsule"
Many parents create a channel specifically for their children. By setting it to private, they can upload hundreds of gigabytes of video for free (saving money on Google One or iCloud storage) while ensuring the child's privacy is protected until they are old enough to decide what to make public.
8. Troubleshooting Privacy Issues
- "Video is Private" Error: If your invited guest sees this, ask them to check which Google account they are using in their mobile app.
- The 50-Person Limit: If you need to share a video with 200 people (like a whole wedding guest list), the "Private" setting will not work. In this case, use Unlisted. It is slightly less secure, but it removes the 50-person cap and the Google login requirement.
- Mobile Uploads: If you upload from your phone, the app often defaults to "Public." Get into the habit of checking the visibility settings before hitting "Upload."
Conclusion
Creating a private YouTube channel is one of the smartest ways to utilize Google’s massive infrastructure for personal or professional use without the baggage of public exposure. By following these steps—creating a Brand Account, hiding the channel, and meticulously managing your "Share Privately" whitelist—you can turn YouTube into your own secure, cloud-based vault.
Privacy in the digital age is about control. With the tools provided by YouTube in 2026, you have more control than ever over who sees your story.
Ready to create better thumbnails?
Start generating click-worthy thumbnails with AI today.
Get Started Free